Getting Started
Your Standard e-Tax Receipt Template can be found in the General Setup section of your raisin Admin. Click “Tax Receipt” to launch the Builder and get started.
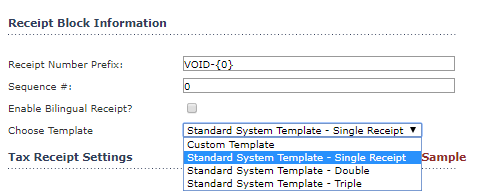
Choose Template
Select a Standard System Template from the drop-down list to start designing your receipt. You may choose for one or three templates, depending on your country of origin.
Receipt Settings
In order to generate official charitable tax receipts, certain legally-required fields must be set. If you are issuing receipts in English and French, receipt fields must be completed in both official languages.
Editable fields are as follows:
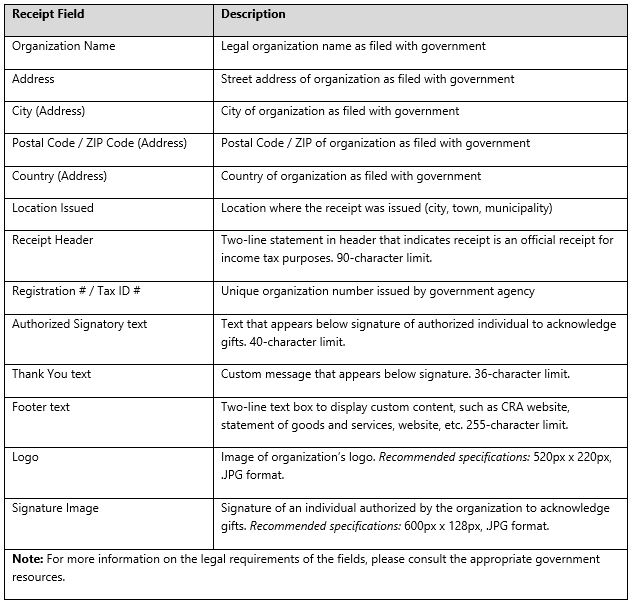
Each of the above fields corresponds to the following areas on the receipt:
Preview
To view how your receipt looks, use the Preview button. This will generate a PDF mock-up of the receipt prior to saving your changes.
Save
Clicking “Save” will create your Standard Tax Receipt template for the first time.
After the first save, updates to Templates or Tax Receipt Settings can be made by System Administrators at any time. Clicking “Save” will immediately reflect changes on receipts generated using the Standard Template moving forward.
How do I add my logo and signature:
To ensure logos and signatures appear correctly on your branded tax receipt, simply upload images that meet the following specifications:
- Logo: 520 px x 220 px
- Signature: 600 px x 128 px
- Images must be in JPG (recommended) or PNG with a white background
If your Logo, and Signature Images are not the exact advised dimensions when uploading to your tax receipt, it will likely cause the image to distort. In order to resize your image, you can use Photoshop, or another photo editing program to make them look great.
By adding a white background box created in the advised dimensions then drag and drop your pre-existing Logo/Signature Image into the box - that's it!
To upload the image, press the Select button, which will allow you to select the image file directly from your computer.
After pressing the Upload button, we recommend pressing the Preview button to review the receipt.
If all looks good, click Save.
Adjusting your tax receipt
Adjusting your Standard System Template receipt can be done under the General Setup navigation tab any time following the same steps above to reflect changes at your organization.
When updating an existing receipt is modified, any saved changes you make will affect all future receipts issued through the system.
Check out our webinar, that further reviews how to set up and manage your tax receipt here.